- The first step is to save internal data to an external storage device.
- Shut down the computer, unplug it from the wall, and press the power button to completely drain the power that the computer is still holding inside.
- Put the computer on your workstation and keep cups or plastic bags to keep the screws you remove organized. You don't want to lose screws, and if you use a screw that's too long it can puncture the hard drive housing.
- Open the computer case. Computer cases can open in several different ways. With this particular computer, I had to remove both sides of the case.
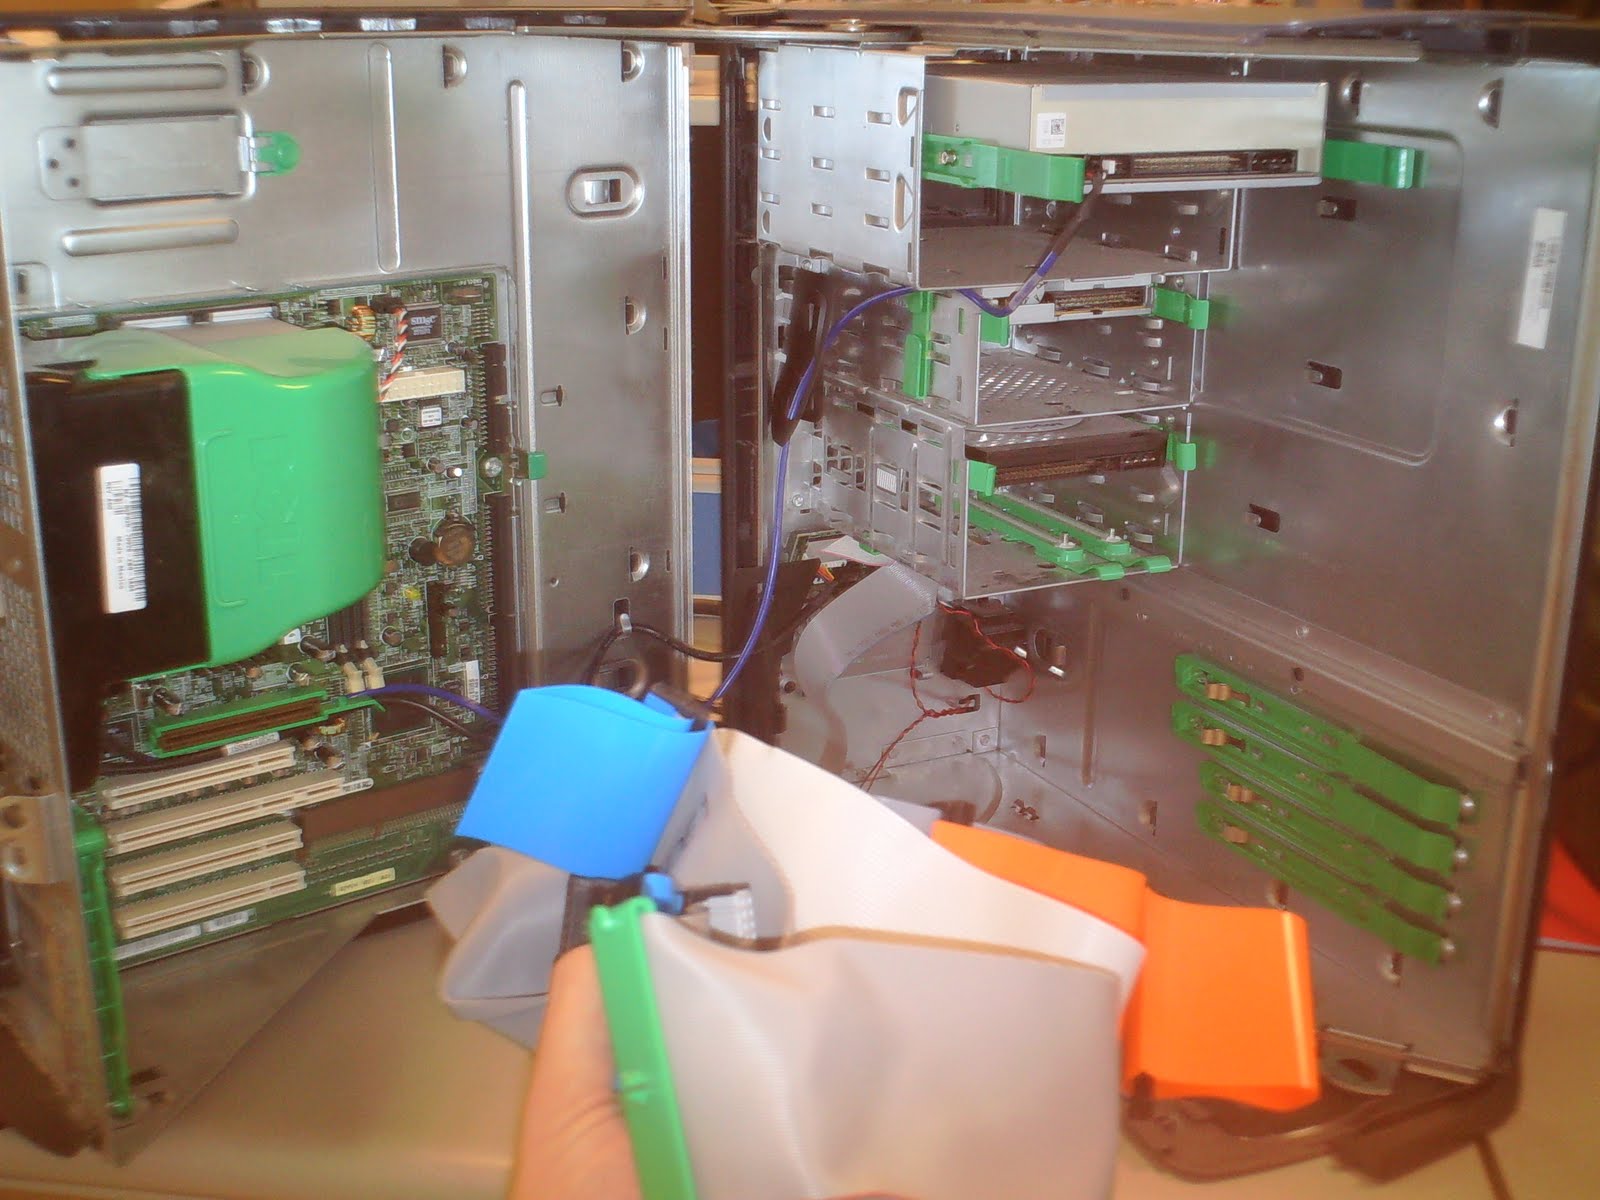
- It is advised to draw a diagram showing what goes where to refer to when putting the computer back together. Record the color of the wires and their positions on the pin.
- Remove the cables.
7. Remove the expansion cards from the motherboard.

Place the components you have removed so far in a static shielding bag.

8. Remove the power supply by unscrewing it from the rear of the tower.

9. You can now carefully remove the motherboard. Since it and the processor are the most expensive components, you want to go ahead and get them out of the case, and out of harms way.

10. The last components that need to be removed are the drives.

The computer case is completely gutted at this point.

11. To reassemble the computer, follow the previous ten steps backwards, keeping a few points in mind;
- replace the components in this order; power supply, drives, motherboard and expansion cards
- connect data cables to the drives before sliding the them into the bays
- double check all of the connections before replacing the cover
- plug in the keyboard, monitor, and mouse after the computer is completely reassembled.
- turn it on and test it before you consider the job done
No comments:
Post a Comment